 |
|
DevOps Course
Laravel CI\CD Deployment Automation
Using AWS CodeDeploy BitBucket
Monday, April 19, 2021 (MDT)
Author: Emad ZaamoutTable of Contents
Source Code
[Github](https://github.com/eezaamout/aws-codedeploy-bitbucket-laravel)[Bitbucket](https://bitbucket.org/eezaamout/aws-codedeploy-bitbucket-laravel)
-
AWS IAM - Create New Service Role [For EC2 to Access AWS CodeDeploy]
-
AWS EC2 - Create EC2 Linux Ubuntu Instance (Production Sever)
-
AWS CodeDeploy - Create Deployment Group (For CodeDeploy Application)
1. Introduction
Welcome back
In this tutorial, were going to learn how to set up Continuous integration and delivery for any Laravel project using AWS and Bitbucket.
I will be showing you how to automate your build, testing and deploy process.
Here’s how it’s going to work. Once any code is merged with your Git Master branch, we will use Bitbucket pipelines so that we can build our project and run all your tests/lint.
Once our build and tests pass, our production server will automatically be updated to contain the latest revision (master branch) for our Laravel Project
To accomplish this, we will be using
- AWS EC2 Instance – to host our production server (optional + staging)
- AWS RDS Instance – to run MySQL 8 Server for our Laravel project
- AWS S3 Bucket – to store our revisions
- AWS CodeDeploy – to run deployments
- AWS Server Manager – to store and populate our .env file
- Bitbucket – to store our code repository and run pipelines
- Bash – to create our scripts
2. Create Bitbucket Repository
Create a new private Bitbucket repository, to store your Laravel project. For this tutorial were naming our repository aws-codedeploy-bitbucket-laravel
- Go to https://bitbucket.org/
- On the left, click the ‘+’ button.
- Click Repository (under CREATE)
- Set the access level to private.
3. Upload Laravel Project to Git (BitBucket)
Locally, Create a new Laravel Project. We’re calling ours aws-codedeploy-bitbucket-laravel. Then push it to the Bitbucket repository.
To create a Laravel project using composer (Ref: https://laravel.com/docs/8.x/installation) ,
composer create-project laravel/laravel aws-codedeploy-bitbucket-laravel
To push our project and track our master branch, open the terminal inside your main project folder (aws-codedeploy-bitbucket-laravel) and run the following commands
git init .
git --global user.name “your name”
git --global  user.email “your email”
git remote add origin your_bitbucket_repository_urlgit add . git commit -m “First Commit”git push -u -f
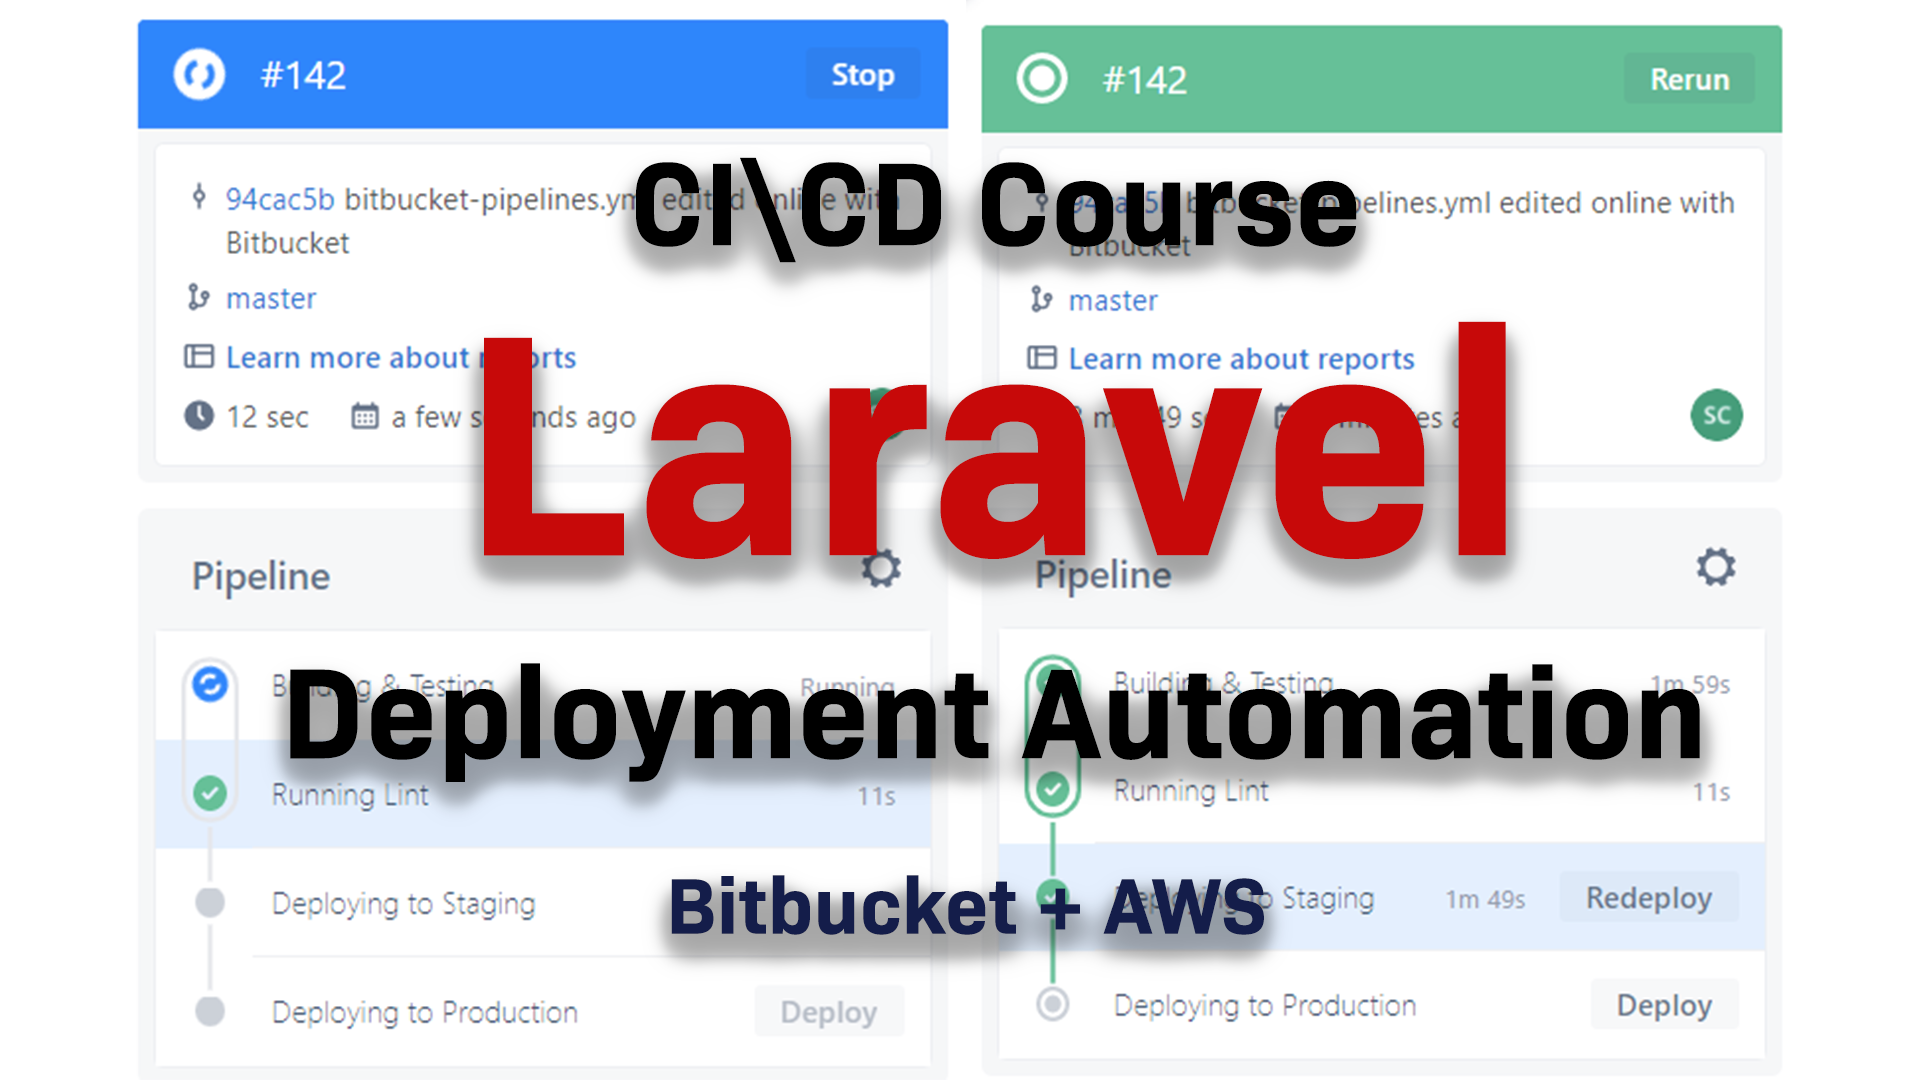
4. Create Bitbucket Pipelines
Bitbucket Pipelines is an integrated CI/CD service built into Bitbucket. It allows you to automatically build, test, and even deploy your code based on a configuration file in your repository. Essentially, we create containers in the cloud for you.
Bitbucket Pipelines is an integrated continuous integration and development service built into Bitbucket. It allows you to automatically build test and even deploy your code based on a configuration file.
- Go to your BitBucket Repository
- On the left, click on Pipelines
- Click on create your first pipeline
- Select Starter Pipeline
- Click Commit File (File added to your main project directory bitbucket-pipelines.yml)
- Click on Pipeline, you should see your new pipeline building.
5. Bitbucket Pipeline - Build Server
For the image, use php:8.0-fpm (Note, change 8.0 to your version).
Commit File
Click on Pipelines and view status.
Add a new folder devops inside your main Laravel Folder
Create new file inside devops called build-server.sh
Go to Source, add new file called build-server.sh [laravel-project/devops/build-server.sh]
Update the bitbucket-pipelines.yml, Add bash script to build step.
Commit File, watch Pipeline status
6. Bitbucket Pipeline - Build Laravel Project
Create new file inside main folder .env.pipelines
Create new file inside devops called build-project.sh
7. Bitbucket Pipeline - Lint + Automated Testing
There is allot of different linters you can use for your front end and back end.
If you plan on using any, then you would just simply add it here.
For this demo, I am going to comment this out.
For testing, let’s go ahead and create a new script
We want to place run it after our build project script.
If you want to install any specific lint or testing package, then you should do that inside the build-project script first.
8. What is AWS Identity and Access Management (IAM)?
In AWS IAM stands for Identity and Access Management. It lets you manage access to AWS services and resources securely.
In order for us to automate our deployment process, we will need to give our EC2 instance access to CodeDeploy so that we can pull our latest code revision and deploy it on our server whenever new code is merged on our master branch and the pipelines builds successful.
We will also need to give our EC2 instance to access S3 Bucket. We will use S3 Bucket, to store our code revisions.
IAM basically lets you
- create and manage AWS users and groups
- it allows you to set permissions to allow or deny users access to your resources
9. AWS IAM - Create User Group [For AWS CodeDeploy]
User groups are a collection of IAM Users.
User groups let you specify permissions for multiple users
Let’s go ahead and create a new user group
- Go to IAM,
- Click on Users,
- Click Add User
Create new user group called BitBucketCodeDeploy
Add permissions: AmazonS3FullAccess and AWSCodeDeployFullAccess
10. AWS IAM - Create New User [For Bitbucket]
This user will be used by our EC2 instance, to access Amazon S3 Bucket and Code Deploy
Create a new user so that Bitbucket can use to upload our latest revision to S3 and to inform CodeDeploy that a new revision is ready to be deployed.
For your IAM identity, make sure you have the following permissions: s3:GetBucketPolicy and s3:PutBucketPolicy.
https://aws.amazon.com/premiumsupport/knowledge-center/s3-access-denied-bucket-policy/
11. AWS IAM - Create New Service Role [For EC2 to Access AWS CodeDeploy]
Service roles are used to grant permissions to an AWS service so it can access AWS resources.
Create a new role IAMCodeDeploy.
Select EC2 AWS Service.
Add policies AWSCodeDeployRole and AmazonS3FullAccess.
12. AWS S3 - Create S3 Bucket (to store code revisions).
In AWS, S3 Bucket is a public cloud storage resource. Once our Bitbucket pipeline builds successfully, we will store a revision of our code inside here. Then we will build a script to pull the latest revision on our server.
Make sure public access is BLOCKED.
13. AWS EC2 - Create EC2 Linux Ubuntu Instance (Production Sever)
Create EC2 Instance (Linux, Ubuntu 20 LTS).
For IAM Role, select IAMCodeDeploy.
Add a tag which CodeDeploy will use to identify your instance.
Create new security group, add the following rules
http (port 80), https (port 443) all access.
ssh (port 22) add your ip.
14. AWS RDS - Create RDS MySQL Server Instance
15. Install CodeDeploy Agent on your EC2 (Production) Instance
[Reference https://docs.aws.amazon.com/codedeploy/latest/userguide/codedeploy-agent-operations-install-ubuntu.html]
Note, for the wget command below, to find your bucket-name, and region-identifier go to AWS Resource kit bucket names by Region Documentation
https://docs.aws.amazon.com/codedeploy/latest/userguide/resource-kit.html#resource-kit-bucket-names
Depending on your AWS S3 Bucket region, you will find the values that you should use for bucket-name, add region-identifier.
sudo apt update
sudo apt install ruby-full
sudo apt install wget
cd /home/ubuntuwget
https://bucket-name.s3.region-identifier.amazonaws.com/latest/installchmod +x ./installsudo ./install auto
> /tmp/logfile
Check if CodeDeploy status (or start it)
sudo service codedeploy-agent status
sudo service codedeploy-agent start
16. AWS IAM - Create Service Role (For CodeDeploy)
[Reference https://docs.aws.amazon.com/codedeploy/latest/userguide/getting-started-create-service-role.html]
Service roles are used to grant permissions to an AWS service so it can access AWS resources.
For type of trusted entity, choose AWS Service.
For use case, select CodeDeploy.
17. AWS CodeDeploy - Create Application (For Laravel Project)
Create Application. Select EC2/on-premises
18. AWS CodeDeploy - Create Deployment Group (For CodeDeploy Application)
A deployment group is the AWS CodeDeploy entity for grouping EC2 instances or AWS Lambda functions in a CodeDeploy deployment. For EC2 deployments, it is a set of instances associated with an application that you target for a deployment.
Create Deployment Group for the CodeDeploy Application.
- In Deployment group name, enter CodeDeployGitHubDemo-DepGrp.
- In Service role, choose the name of your CodeDeploy service role that you created in Create a service role for CodeDeploy.
- In Deployment type, choose In-place.
- In Environment configuration, depending on the type of instance you are using, choose Amazon EC2 instancesor On-premises instances. For Key and Value, enter the instance tag key and value that was applied to your instance as part of Step 4: Provision an instance.
- In Deployment configuration, choose AllatOnce.
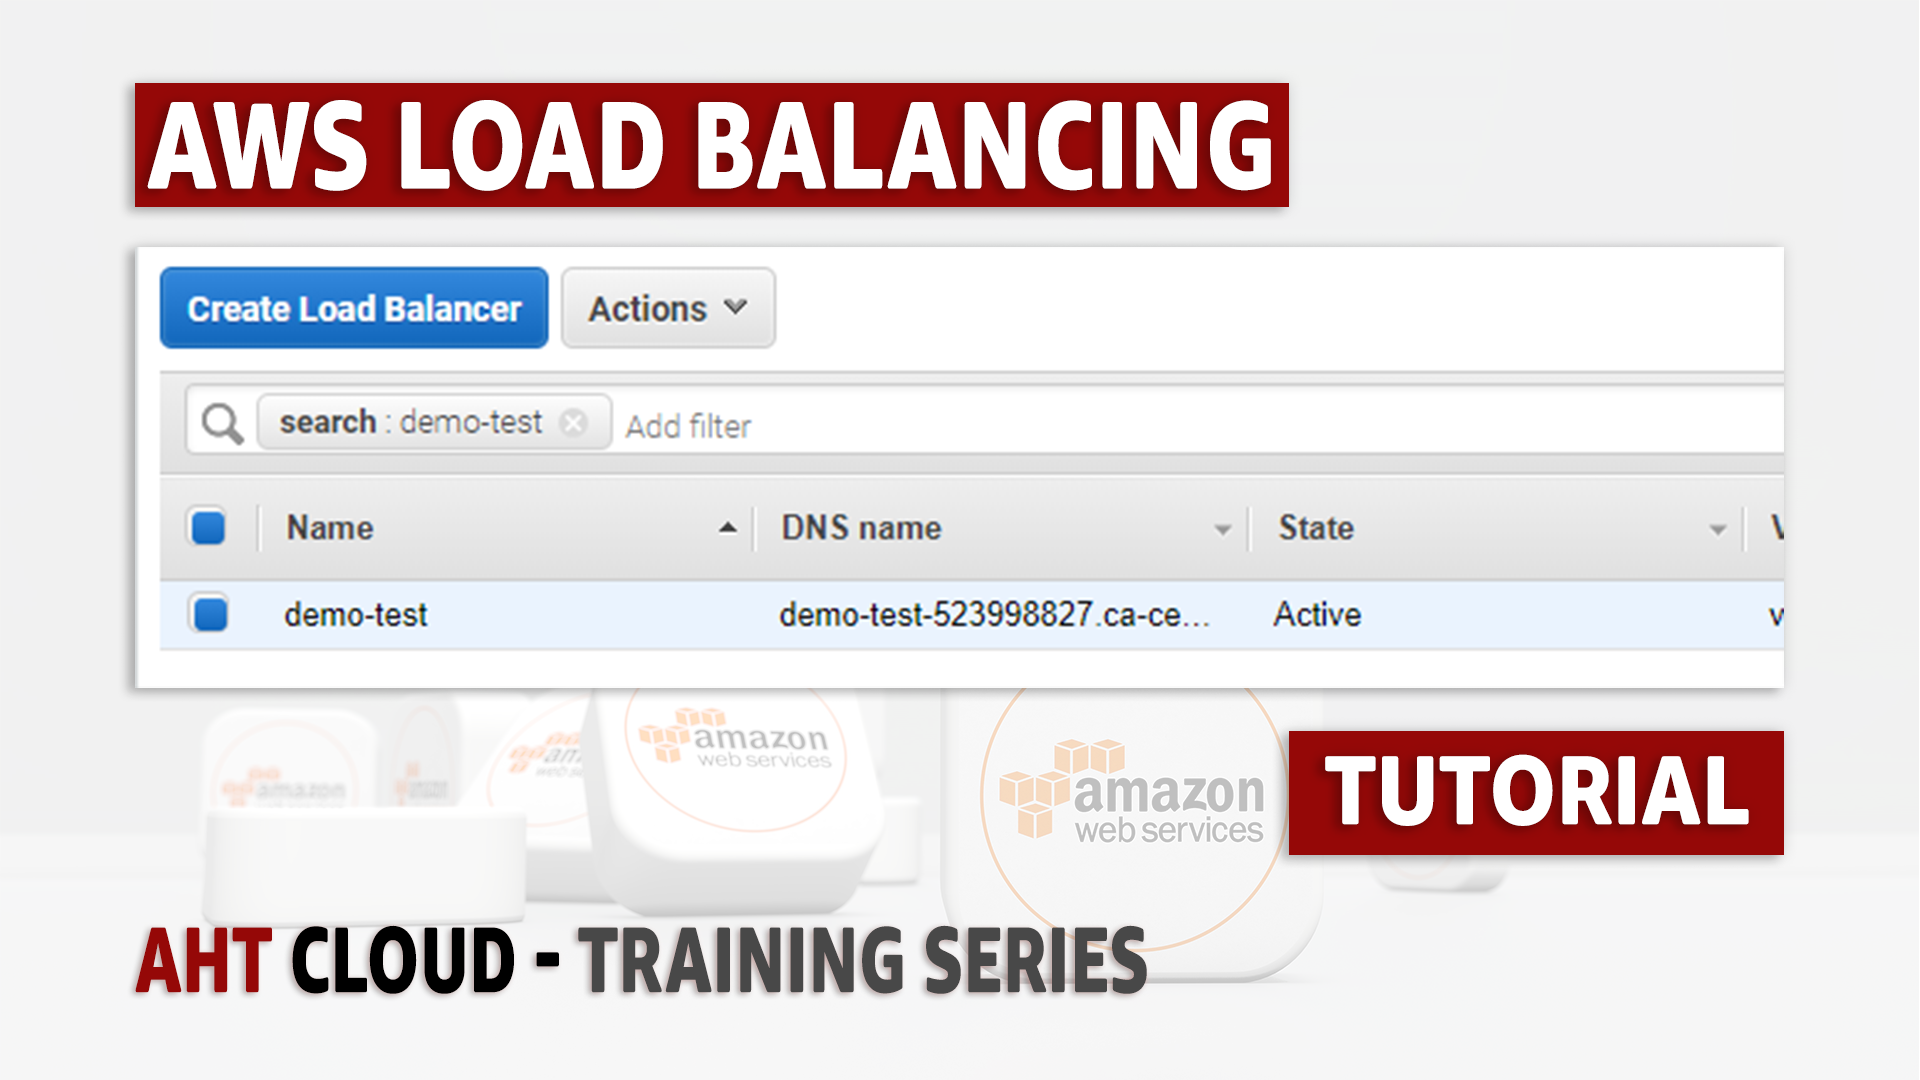
- In Load Balancer, clear Enable load balancing.
- Expand Advanced.
- In Alarms, select Ignore alarm configuration.
- Choose Create deployment group, and continue to the next step
19. Bitbucket Pipeline - Create Build Production Script
For us to deploy our latest revision to S3, we will need to tell CodeDeploy that our revision is ready. To communicate with AWS, we will use the AWS CLI which is a command line interface that provides us with tools to help us interact with AWS using the command line.
Add to your devops/build-server.sh file to install AWS CLI. We will use AWS CLI to
curl "https://awscli.amazonaws.com/awscli-exe-linux-x86_64.zip" -o "awscliv2.zip"
unzip
awscliv2.zip
sudo ./aws/install
20. Bitbucket Repository - Add Environment Variables
When we created our IAM User BitbucketUser, a new_user_credentials.csv file was downloaded.
For us to use that user, we will need the username, access key id and secret access key. Those records can be found inside the new_user_credentials.csv file that we downloaded earlier when we created our IAM User BitbuckerUser. Recall that the credentials file is only generated once you create a new IAM user. If you lost that file, you would have to create a new IAM User.
- Go to your BitBucket code repository.
- Click on Repository Settings (on the left)
- Click on Repository Variables (scroll down, should be one of the last options)
- Add the following variables
|
Name |
Value |
|
|
AWS_SECRET_ACCESS_KEY |
AWS_SECRET_ACCESS_KEY |
inside new_user_credentials.csv |
|
AWS_ACCESS_KEY_ID |
AWS_ACCESS_KEY_ID |
inside new_user_credentials.csv |
|
APPLICATION_NAME |
aws-codedeploy-bitbucket-laravel |
Your Project Name |
|
AWS_DEFAULT_REGION |
ca-central-1 |
Your AWS S3 Region |
|
DEPLOYMENT_GROUP_NAME |
BitbucketCodeDeploy |
|
|
S3_BUCKET |
laravel-dev-ops |
S3 bucket name |
21. Bitbucket Repository - Deploy to Production Part 1
Create a new file inside the devops folder deploy-production.sh (devops/deploy-proudction.sh)
Create new file inside your main project folder
Create new file inside devops/hooks folder application-start.sh [
Create new file inside devops/hooks folder before-install.sh
Create new file inside devops/hooks folder after-install.sh
22. AWS EC2 Production Instance - Configure Server
To set up apache2 server, create new site configuration
<VirtualHost *:80> ServerAdmin support@ahtcloud.com ServerName 3.96.155.188 DocumentRoot /var/www/aws-codedeploy-bitbucket-laravel/public ErrorLog ${APACHE_LOG_DIR}/error.log CustomLog ${APACHE_LOG_DIR}/access.log combined <Directory /var/www/aws-codedeploy-bitbucket-laravel> Require all granted AllowOverride All Options Indexes Multiviews FollowSymLinks </Directory></VirtualHost>
23. AWS Systems Manager - Storing/Loading .env Files
Set up ENV File
You can use below steps to store your .env file inside parameter store :
- Login to AWS console and switch to the region which contains your production setup
- Go to Systems Manager and click on Parameter Store
- Click on Create Parameter
- Add Name and Description
- Select Tier as Standard
- Select Type as SecureString
- Select KMS key which managed encryption as per your choice
- Enter entire .env contents into the text-area
- Click on Create Parameter to save the parameter
Give IAM Permission for EC2 Instance to access Parameters
Go to your instance, click on your IAM Role, attach new policy AmazonEC2RoleforSSM
Make sure you have the following rules added
Create bash script to retrieve env variables on server
24. Bitbucket Pipeline - Deploy to Production Part 2
Set up ENV File
Create new script inside devops/scripts called generate-env.sh
25. Bitbucket Pipeline - Deploy to Staging (Optional)
Duplicate your EC2 Instance and add to bitbucket-pipeline.yml
Thank you for watching
If you guys found this video useful, then feel free to give it a thumbs up. Also, were releasing a video every week so don’t forget to subscrive to my channel.
Also, if you have any questions, feel free to post it down in the comment below.
Other Posts


GET YOUR FREE ESTIMATE
CONTACT US TODAY FOR YOUR FREE CONSULTATION!
Contact us today to discuss your goals and we will create a simple roadmap to get you there. We look forward to speaking with you!
Main Office
Phone: 1 587-834-6567
Email: support@ahtcloud.com
32 Westwinds Crescent NE #130
Calgary, AB T3J 5L3, CA
Products
TMS
Cloud Based Transportation Management System
Hours Of Operation
| Monday | 8:00 am - 5:00 pm |
|---|---|
| Tuesday | 8:00 am - 5:00 pm |
| Wednesday | 8:00 am - 5:00 pm |
| Thursday | 8:00 am - 5:00 pm |
| Friday | 8:00 am - 5:00 pm |
| Saturday | Closed |
| Sunday | Closed |